If you have an overgrown hedge and want to trim it yourself, our comprehensive how-to guide is your ultimate resource. It covers all aspects of the trimming process, ensuring you are well prepared for the task. Here’s what you can expect to find:
Essential Tools
Discover the must-have tools for hedge trimming, including secateurs for small branches, loppers for thicker limbs, and hedge shears for shaping. Learn about pruning saws for tougher jobs, and explore optional power tools like electric or petrol hedge trimmers to make the task more efficient.
Safety Equipment
Safety is paramount when trimming hedges. Our guide details the necessary protective gear, such as gloves to shield your hands from cuts and thorns, and safety goggles to protect your eyes from flying debris. We also recommend using a stable ladder or step stool for high sections and a groundsheet to catch clippings.
Best Time to Cut
Timing your trim is crucial for the health of your hedge. Our guide explains the optimal periods for trimming different types of hedges to promote healthy growth and prevent damage. Learn how to avoid the bird nesting season and why timing matters for the overall health of your plants.
Maintenance Tips
Proper maintenance of your tools and hedges ensures long-term success. Our guide offers advice on sharpening tools, cleaning and disinfecting them to prevent disease spread, and tips on regular hedge upkeep. Learn the best techniques for cutting to encourage healthy regrowth and shape.
Wildlife Considerations
Respect for wildlife is essential when trimming hedges. Our guide provides guidelines on checking for nesting birds or other wildlife before you start cutting. We offer tips on how to trim without disturbing their habitat and explain the legal protections for nesting birds, helping you to garden responsibly.
With our guide, you’ll be well-equipped to handle your overgrown hedge, combining practical know-how with thoughtful consideration for your garden’s ecosystem
Essential Hedge Trimming Tools
Types: Bypass (for live branches) and Anvil (for dead branches).
Features: Long handles provide leverage.
Features: Long, flat blades.
When is the best time to trim hedge?
The best time to trim hedges depends largely on the type of hedge you have. For deciduous hedges, such as beech or hornbeam, late winter or early spring (February to March) is ideal before new growth starts. This timing allows you to shape the hedge before birds begin nesting in spring. Evergreen hedges, like box or yew, are best trimmed in late spring or early summer (May to June) after the risk of frost has passed and new growth has started. Trimming at these times promotes healthy regrowth and ensures the hedge remains dense and well-shaped throughout the growing season.
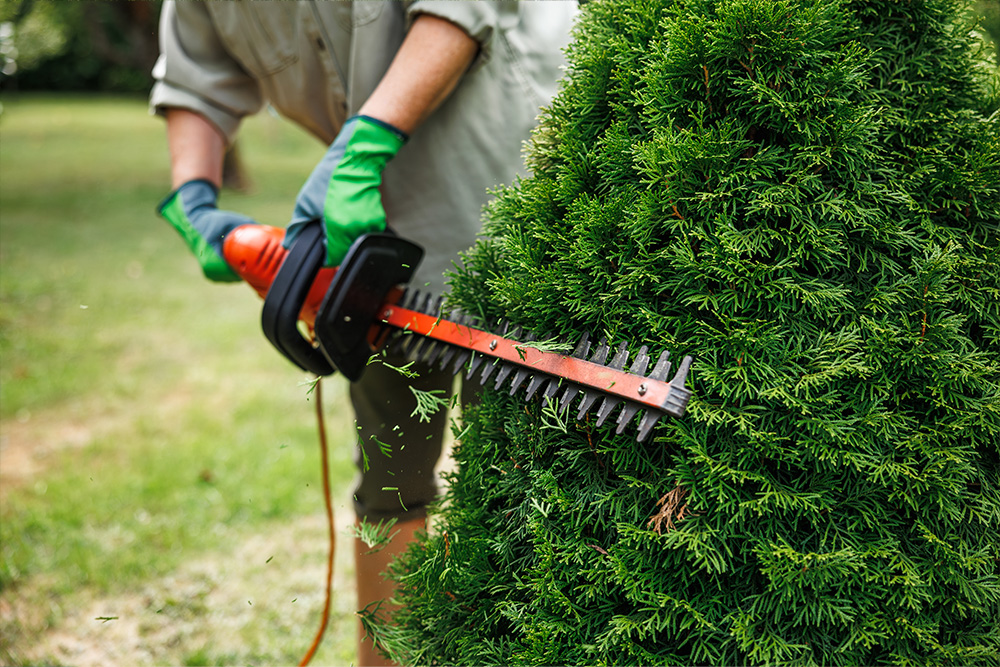
Safety tips when hedge trimming
When trimming your hedge, prioritising safety is crucial to prevent accidents and ensure a smooth and effective gardening experience. Start by wearing appropriate safety gear including gloves to protect against cuts and thorns, safety goggles to shield your eyes from debris, sturdy footwear with good grip to avoid slips, and long-sleeved clothing to protect your arms from scratches.
If using power tools like hedge trimmers, consider wearing hearing protection to reduce noise exposure. Always inspect your tools before use, ensuring they are in good working condition and sharp enough for clean cuts. Secure ladders or step stools on stable ground and use a harness or safety rope if trimming tall hedges to prevent falls. Before starting, clear the work area of any obstacles and ensure there are no nesting birds or wildlife that could be disturbed. Lastly, trim in dry weather to maintain good footing and visibility, and be mindful of power cords to avoid accidental cuts. By following these safety tips, you can trim your hedge efficiently while minimizing risks to yourself and others.
6 Step Guide To Trimming Your Hedge
Step 1 – Survey your hedge
Begin by thoroughly surveying your hedge to assess its current condition and plan your trimming approach. Identify areas of overgrowth, uneven sections, and any dead or diseased branches that require attention. Look closely for signs of nesting birds or active wildlife, as disturbing them is both harmful and often against legal protections. Postpone trimming if you spot any active nests.
Decide on the hedge’s desired shape, whether a natural, organic form or a more formal, geometric appearance. Use a tape measure to determine and mark the intended height and width, ensuring these measurements are consistent with the overall layout of your garden. This preliminary survey sets the foundation for a precise and effective trimming process, helping to maintain the health and aesthetics of your hedge.
Step 2 – Prepare for trimming
Preparation is crucial for a successful and safe hedge-trimming session. Start by gathering all necessary tools and safety gear: secateurs, loppers, hedge shears, and a pruning saw for manual tasks, or a hedge trimmer for larger jobs, alongside gloves, safety goggles, sturdy footwear, and hearing protection if using power tools. Inspect each tool to ensure blades are sharp and in good working condition, and clean them with a disinfectant to prevent the spread of plant diseases.
Next, set up your work area by laying a tarp or groundsheet beneath the hedge to catch clippings and facilitate easy clean-up. If you’ll be working on tall hedges, position your ladder or step stool securely on firm, level ground. Finally, establish a string line at the desired top height of the hedge, securing it with stakes to guide your cuts and achieve a straight, even top. Proper preparation minimises risks, enhances efficiency, and lays the groundwork for precise trimming.
Step 3 – Trim hedge from the bottom upwards
Initiate the trimming process by focusing on the sides of the hedge, working from the bottom upwards. This approach helps maintain balance and prevents the accumulation of heavy trimmings that could damage lower branches. Using hedge shears or a hedge trimmer, carefully cut along the sides, angling them slightly inward to ensure sunlight reaches the lower sections, promoting even growth. Alternate sides to maintain symmetry, stepping back frequently to check for uniformity and avoid over-trimming one side. Trim to the natural shape of the hedge, making sure to follow your initial survey plan. This methodical approach to side trimming sets the foundation for a well-shaped and healthy hedge, providing a solid base for addressing the top and any final adjustments.
Step 4 – How to get perfect lines and symmetry
To achieve a professional-looking finish, employ a string line to guide the trimming of the hedge’s top. Set the string line at the desired height and ensure it is taut and level along the entire length of the hedge. This guide will help you maintain a straight and uniform top, crucial for achieving symmetry and aesthetic appeal. Using hedge shears or a hedge trimmer, carefully follow the string line as you trim across the top of the hedge. Make small adjustments as needed to ensure consistency in height and shape. Regularly step back to assess your progress and make any necessary corrections to achieve a neat and tidy appearance. By using a string line as a guide, you ensure precision and accuracy in trimming, resulting in a well-defined and professionally finished hedge.
Step 5 – Stand Back and Check Progress
After trimming the sides and achieving a straight top, take a moment to step back and evaluate your work. Moving at least 10-15 feet away from the hedge allows you to assess its overall appearance from different angles and perspectives. Look for any areas that may need further trimming or shaping to maintain uniformity and balance.
Pay close attention to the hedge’s shape and ensure that it aligns with your initial plan and desired outcome. Use this opportunity to make any final adjustments with secateurs or hedge shears as necessary, refining the edges and corners to achieve a polished look. Regularly checking your progress throughout the trimming process ensures that you achieve a well-proportioned and aesthetically pleasing hedge that enhances the overall beauty of your garden.
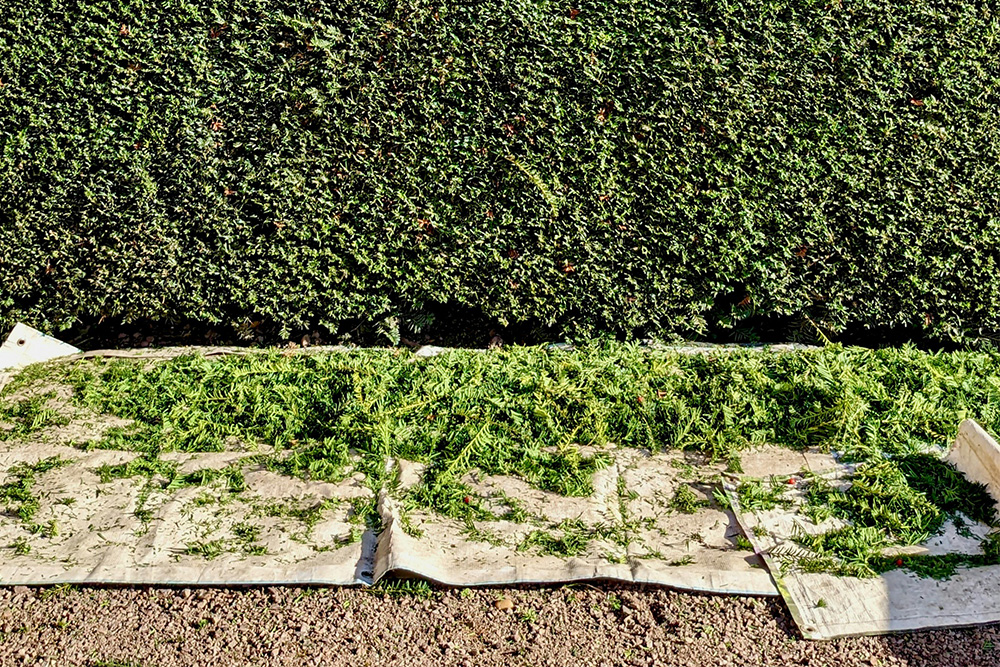
Step 6 – Clear All Debris and Trimmings
Once you have completed trimming your hedge to your satisfaction, it’s time to tidy up the work area. Begin by gathering all clippings and debris using a rake or by hand, and place them onto the tarp or groundsheet you prepared earlier. Remove any large branches or pieces of wood that may have fallen during the trimming process. Dispose of the collected clippings responsibly, either by adding them to your compost pile or placing them in a green waste bin for municipal collection.
Ensure the area around the hedge is clean and free of trimmings to prevent tripping hazards and maintain a neat appearance. Finally, clean and properly store your tools, wiping them down and applying a protective oil if necessary to prevent rust. By completing this final step, you not only enhance the visual appeal of your garden but also maintain a safe and tidy environment for future gardening tasks.
Conclusion
Following these six steps will guide you through a systematic approach to trimming your hedge effectively and safely. By starting with a thorough survey to identify needs and preferences, preparing adequately with the right tools and setup, and methodically trimming the sides and top using a string line for precision, you ensure a well-shaped hedge. Standing back to assess and make adjustments as needed, and finally clearing away debris, completes the process with a tidy and polished result. Remember to trim at the optimal times for your hedge type to encourage healthy growth and avoid disturbing wildlife. With these steps, you’ll not only enhance the aesthetic appeal of your garden but also maintain the health and longevity of your hedge for seasons to come.
If you would like to speak to an expert at Warrens Gardens or find out about our hedge trimming service in Bournemouth and Poole, Dorset please contact us.